Home Recording Studio Essentials
The digital revolution has made professional-quality recording accessible to musicians at all levels. Whether you're working with a shoestring budget or ready to make a significant investment, this guide will help you build a home recording studio that delivers great results.
Planning Your Space
Before purchasing any equipment, consider where your studio will be located. The ideal recording environment should:
- Be relatively quiet with minimal outside noise
- Have enough space for your instruments and gear
- Allow for some acoustic treatment
- Have reliable electrical outlets (ideally on dedicated circuits)
Even a small bedroom or closet can be transformed into an effective recording space with proper planning and treatment. The key is to work with what you have while maximizing its potential.
Essential Equipment Categories
A complete home recording setup consists of several interconnected components. We'll break down each category from budget-friendly to professional options.
1. Computer System
Your computer will be the heart of your digital studio. While dedicated recording computers are ideal, many modern laptops and desktops can handle recording tasks effectively.
Minimum Requirements:
- Multi-core processor (Intel i5/i7 or AMD equivalent)
- 16GB RAM (8GB minimum, 32GB preferred for larger projects)
- SSD storage (at least 256GB, with separate drives for OS and recording)
- Windows 10/11 or macOS (last 3-4 versions supported)
Consider using a computer dedicated solely to recording to minimize potential conflicts with other software and ensure consistent performance.
2. Audio Interface
An audio interface converts analog signals (like your voice or guitar) to digital information your computer can process. This is where quality begins to make a significant difference.
Budget Options ($100-200):
- Focusrite Scarlett Solo or 2i2
- PreSonus AudioBox USB
- Behringer UMC202HD
Mid-Range Options ($200-500):
- Universal Audio Volt
- MOTU M2 or M4
- Audient iD14
Professional Options ($500+):
- Universal Audio Apollo Twin
- Apogee Duet
- RME Babyface Pro
Key considerations when choosing an audio interface include:
- Number of inputs and outputs needed
- Preamp quality (affects recording clarity)
- Connectivity (USB, Thunderbolt, etc.)
- Included software bundle
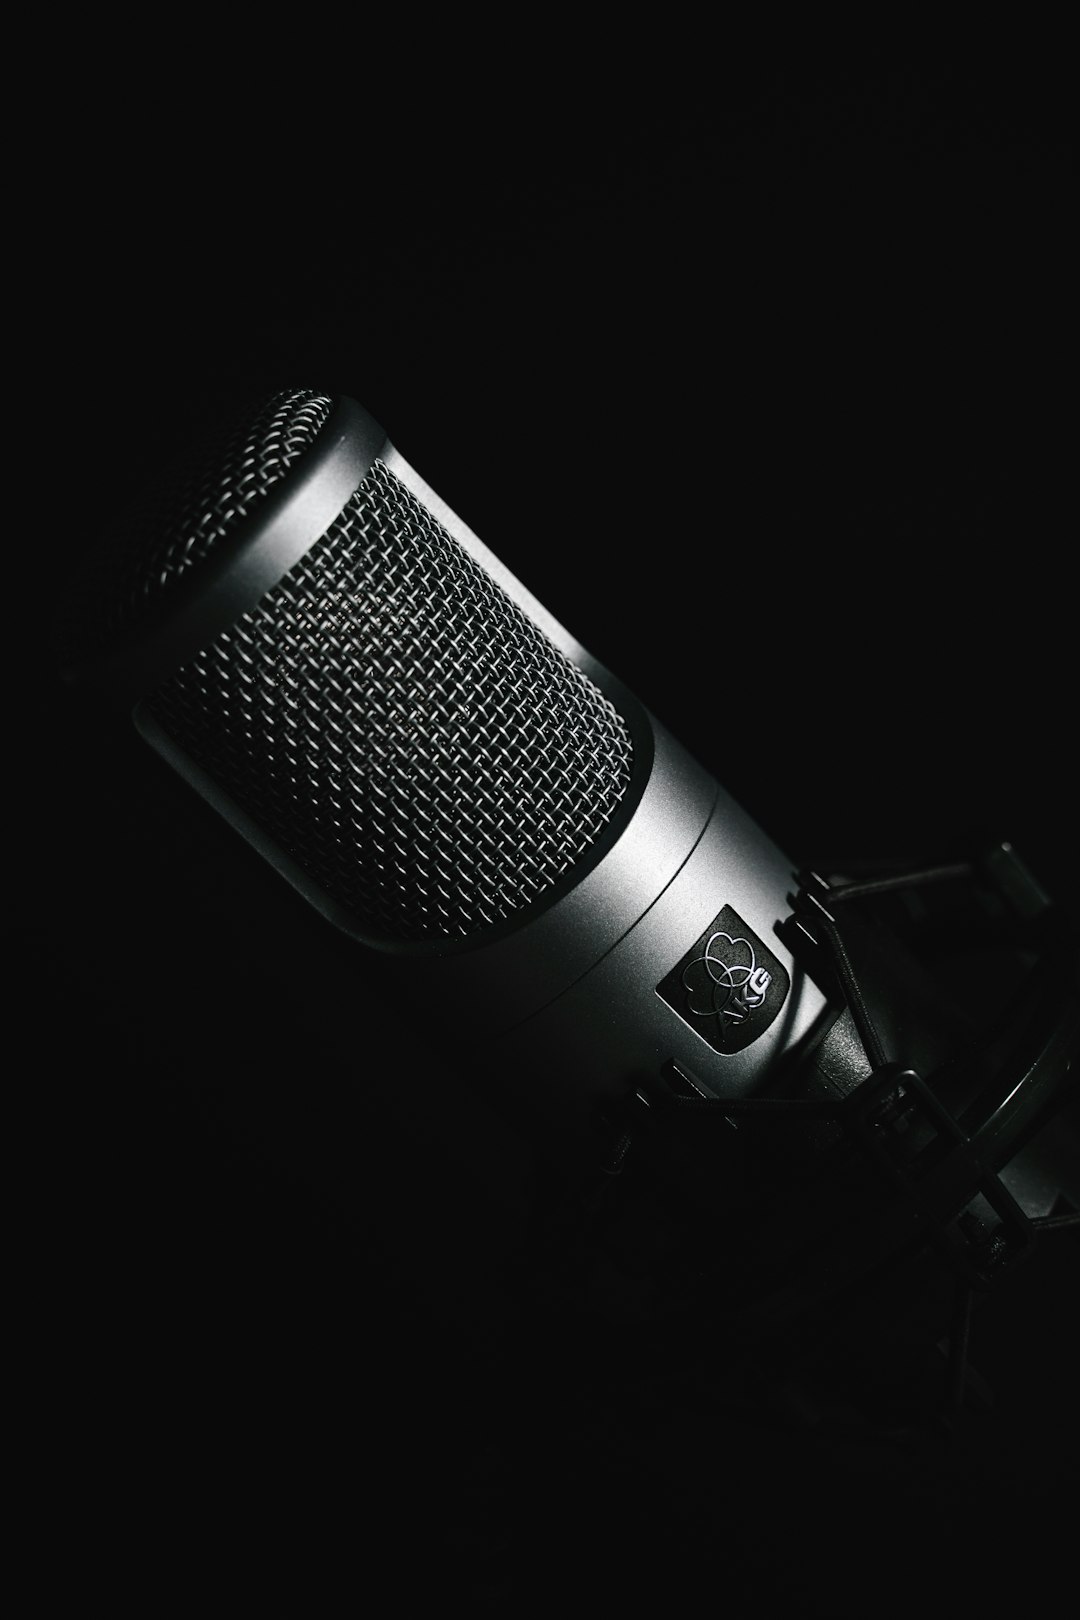
3. Microphones
Microphones capture the nuances of vocal and instrumental performances. Different types serve different purposes:
Dynamic Microphones: Rugged, affordable, and good at rejecting background noise. Perfect for loud sources and basic vocal recording.
- Budget: Shure SM58 ($99) - vocal standard
- Budget: Shure SM57 ($99) - instrument standard
- Mid-range: Electro-Voice RE20 ($450) - broadcast quality
Condenser Microphones: More detailed and sensitive, requiring phantom power from your interface. Ideal for vocals and acoustic instruments.
- Budget: Audio-Technica AT2020 ($100)
- Mid-range: Rode NT1 ($270)
- Professional: Neumann TLM 103 ($1,300)
"The right microphone in the right position will always sound better than an expensive microphone in the wrong position."
— Recording Industry Wisdom
4. Headphones and Monitors
Accurate monitoring is essential for making good recording and mixing decisions.
Closed-back Headphones: Isolate sound, ideal for recording.
- Budget: Audio-Technica ATH-M20x ($50)
- Mid-range: Sony MDR-7506 ($100) - industry standard
- Professional: Beyerdynamic DT 770 Pro ($180)
Open-back Headphones: More natural sound, better for mixing.
- Budget: Philips SHP9500 ($80)
- Mid-range: Sennheiser HD 560S ($180)
- Professional: Sennheiser HD 650 ($400)
Studio Monitors: Essential for accurate mixing decisions.
- Budget: PreSonus Eris E3.5 ($100/pair)
- Mid-range: KRK Rokit 5 G4 ($180/each)
- Professional: Adam Audio T7V ($250/each)
5. Digital Audio Workstation (DAW)
Your DAW is the software where recording, editing, and mixing happens. Options include:
- Free/Budget: GarageBand (Mac), Cakewalk by BandLab (Windows), Reaper ($60)
- Mid-range: Logic Pro ($200), Studio One ($400), Ableton Live Intro ($100)
- Professional: Pro Tools ($600+ or subscription), Ableton Live Suite ($750), Cubase Pro ($600)
Many interfaces come bundled with "lite" versions of popular DAWs, which can be a good starting point.
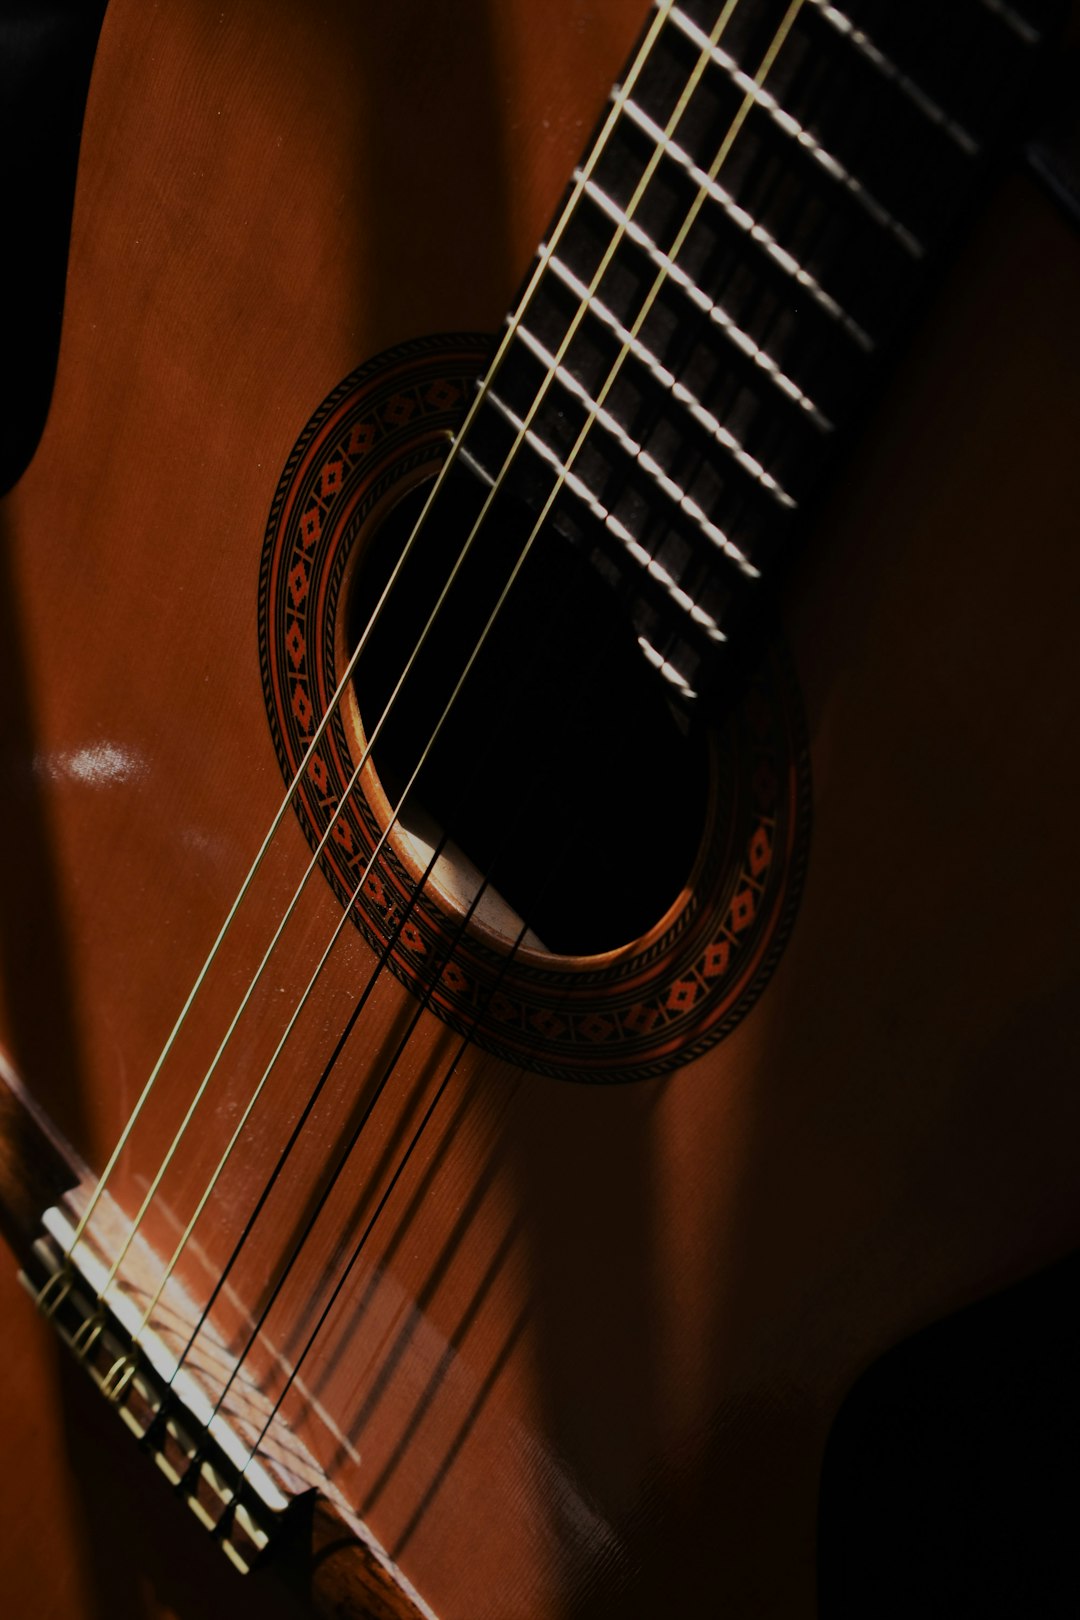
Acoustic Treatment
Even modest acoustic treatment can dramatically improve recording quality. Consider these basics:
- Bass traps: For corners to control low frequencies
- Acoustic panels: For walls to reduce reflections
- Diffusers: To scatter sound waves and create a more natural environment
- Isolation shields: Budget option for vocal recording
DIY options using mineral wool insulation (Rockwool/Owens Corning) can be effective and affordable compared to commercial solutions.
Accessories You'll Need
Don't overlook these essential accessories:
- Cables: XLR cables for microphones, instrument cables, etc.
- Microphone stands: At least one good-quality adjustable stand
- Pop filter: For vocal recording to reduce plosives
- MIDI controller: For virtual instruments and programming
- External hard drives: For project backups and sample libraries
Building Your Studio in Stages
You don't need to purchase everything at once. Consider this phased approach:
Phase 1: Basic Recording ($300-500)
- Entry-level audio interface (2 inputs)
- One versatile microphone (SM58 or AT2020)
- Closed-back headphones
- Free or budget DAW
- Basic cables and stands
Phase 2: Improved Monitoring ($500-800)
- Entry-level studio monitors
- Acoustic treatment basics
- Additional microphone(s) for different applications
Phase 3: Professional Capabilities ($1000+)
- Better audio interface with more I/O
- Specialized microphones for different sources
- Complete acoustic treatment
- Full DAW and essential plugins
Tips for Better Home Recordings
- Record at appropriate levels - Aim for peaks around -12 to -6 dB to avoid clipping and preserve headroom
- Focus on microphone placement - Often more important than expensive gear
- Create a comfortable environment for performers to get the best performances
- Develop a consistent workflow for efficiency
- Always back up your projects regularly to prevent data loss
Conclusion
Building a home recording studio is a journey, not a destination. Start with the basics, learn your equipment thoroughly, and upgrade strategically as your skills and needs evolve. Remember that amazing recordings have been made with minimal equipment, and no amount of gear can replace good ears and recording techniques.
The most important factor is what you bring to the process - your musicality, creativity, and willingness to learn. With the right approach, even a modest home studio can produce professional-quality results that let your musical vision shine.

Comments (2)
Thomas Chen
March 29, 2024This is exactly what I needed! I've been playing guitar for years but just starting to get into recording. The phased approach makes a lot of sense for my budget. Going to start with the Scarlett 2i2 and build from there.
Sarah Miller
March 30, 2024Great overview! One thing I'd add is that room treatment makes a HUGE difference. I spent years upgrading gear when I should have first focused on treating my room properly. Made a bigger difference than my $1000 microphone upgrade!